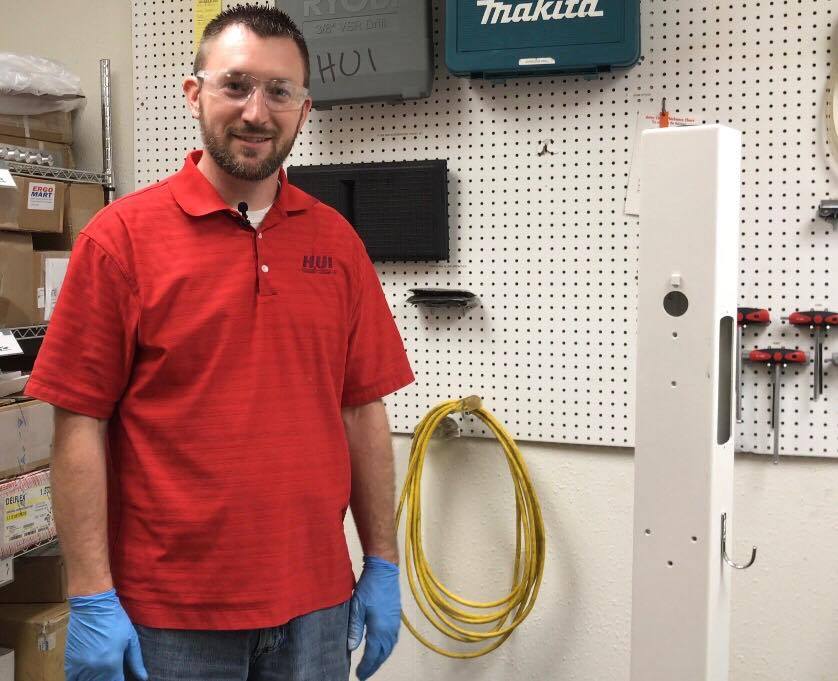
Here’s what you need:
- Rubber gloves
- Safety glasses
- Sand paper
- Use a lower grit for deeper scratches or scuffs (220-400 grit)
- Rubbing alcohol and paper towel (or a rag)
- Large garbage or plastic bag
- Painters tape
- Scissors
- Can of touch up paint from your custom medical cart manufacturer
- Optional: heat gun
Prep work:
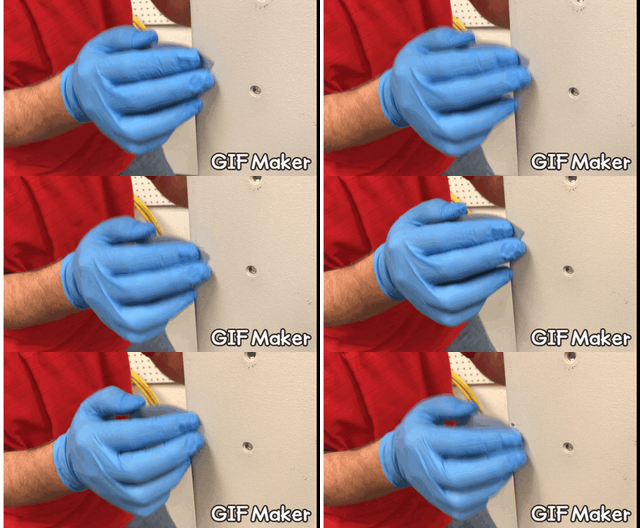 After putting on your gloves and safety glasses, sand the scuff so that there aren’t any sudden gouges in the paint. The area should be flush. Make sure you only sand the immediate area of the scuff.
- Clean the area with rubbing alcohol and a rag.
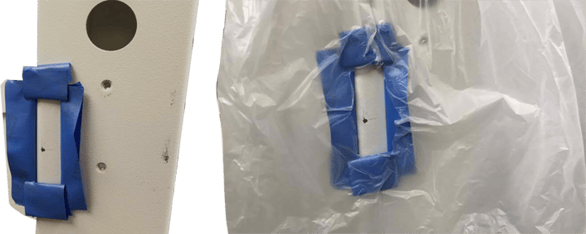
- Use painter's tape to surround the sanded area. Roll the edges while doing this, so you don’t create a hard line while painting.
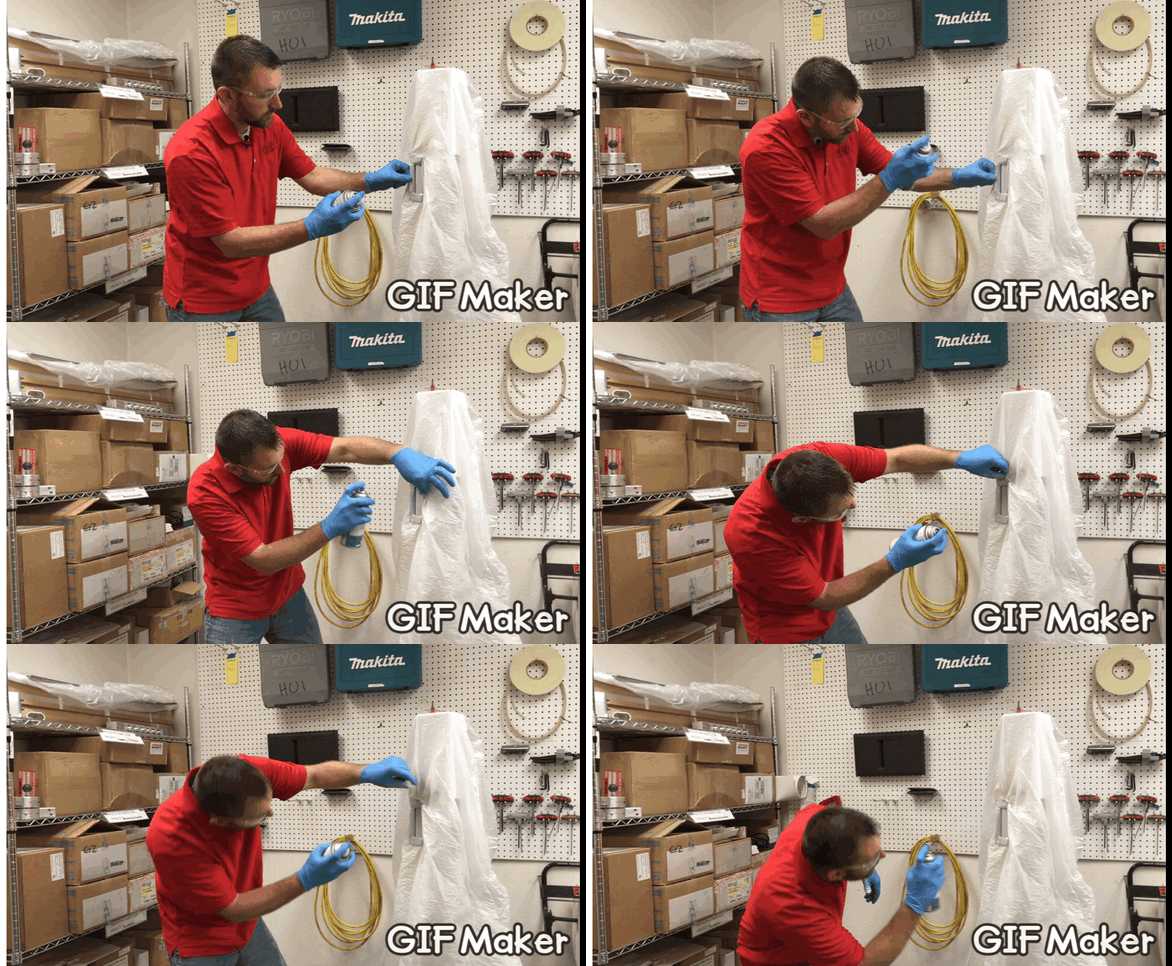
- Put the garbage bag or plastic covering over the cart and cut a hole around the area you plan on touching up. This protects your cart from overspray.
Now you’re ready to paint!
Touch-up Paint:
- Apply a light dusting of paint and let dry for five minutes.
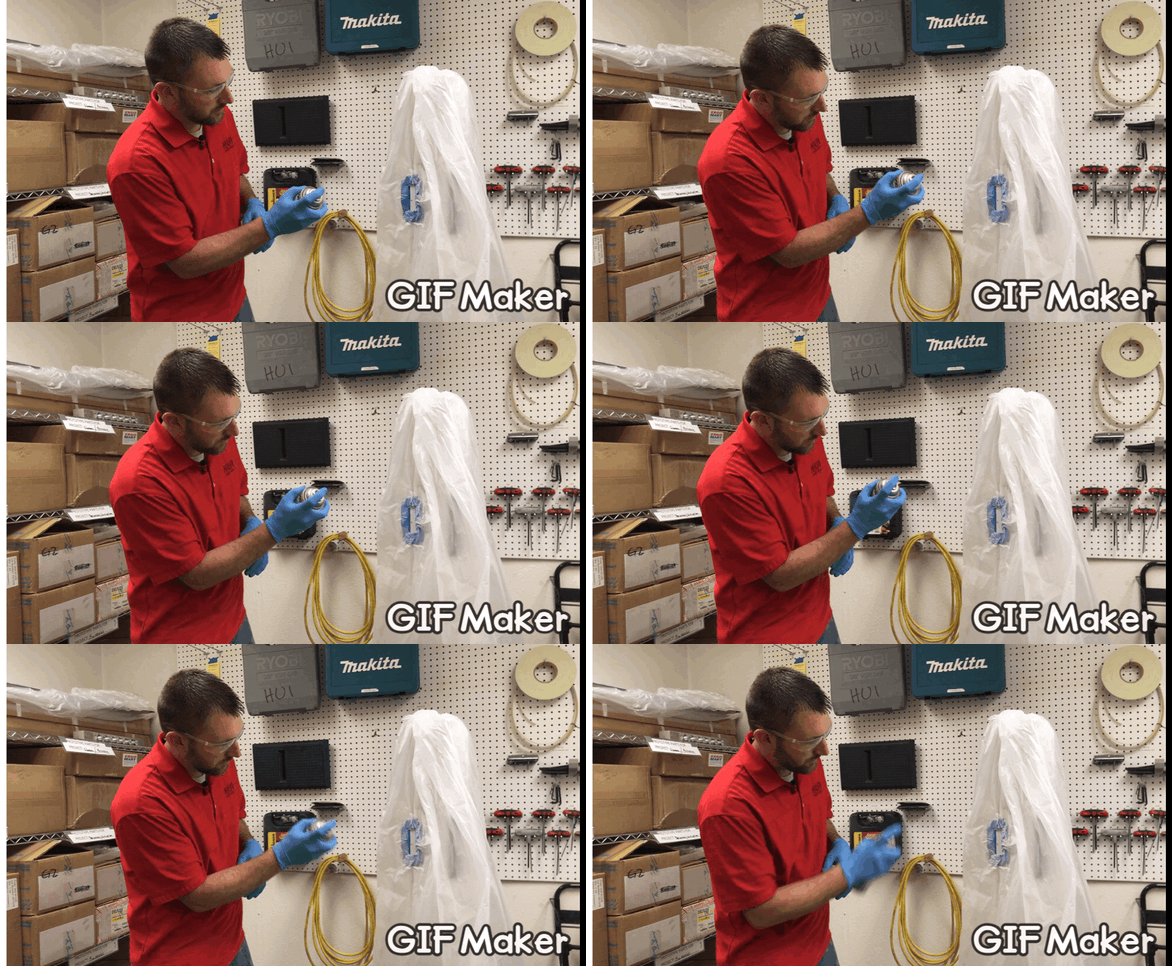
- Repeat this process twice more, making sure you allow time for each layer to dry. This evenly distributes the paint and decreases the risk of runs.
- While painting your final coat, gently lift back the edges of the tape so that you don’t have a hard line of paint in that area. This last coat should also be heavier than the ones before it.
Cleaning up:
- While your paint is still wet, cut the plastic bag around the area you just painted and remove it.
- Peel off the remaining tape.
- Wait for your final coat of paint to dry
***Note: If you’re crunched for time, use the heat gun to speed up the dry time after each coat of paint.
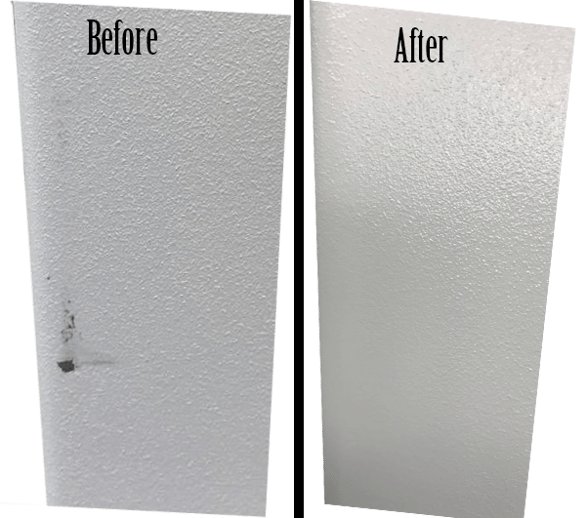
At HUI Manufacturing, we understand that scrapes and scuffs are inevitable, and we want our customers to be prepared. Contact us today if you have any questions or are looking for a custom medical cart manufacturer to get your project off the ground.
